


Step-by-step process
-
Pick a design & make a pattern
-
Draw your toy shape on paper (start simple: heart, star, circle, basic animal silhouette). Add a 3–5 mm seam allowance if you plan to machine sew. Cut out the paper shape.
-
-
Cut the felt
-
Pin the paper pattern to the felt (or hold in place with a little fabric glue) and cut two identical pieces (front and back). Cut any small detail pieces (ears, eyes, belly) separately.
-
-
Decorate the front piece
-
Sew or glue small felt pieces, embroider facial features, or attach buttons/beads for eyes. Embroidery adds durability — sew buttons securely for safety (avoid beads for very young children).
-
-
Assemble and pin
-
Place front and back pieces together (right sides out). Pin or tack them so edges align. If adding appliqué, make sure it won’t be inside the seam allowance.
-
-
Sew around the edges
-
Use blanket stitch for a traditional look: bring needle up through both layers near the edge, loop thread under the needle before pulling tight to form even stitches. Or use backstitch/running stitch for a simpler seam. Leave a 2–3 cm (about 1 in) opening for stuffing.
-
-
Stuff the toy
-
Push small amounts of stuffing in at a time to get even fill and shape. Use a chopstick or the blunt end of a pencil to push stuffing into small corners like ears or snout. Don’t overstuff — felt needs some give.
-
-
Close the opening
-
Finish with small, neat stitches (invisible ladder stitch or small whipstitches) so the seam is tidy. Knot and hide thread end inside the toy.
-
-
Final finishing touches
-
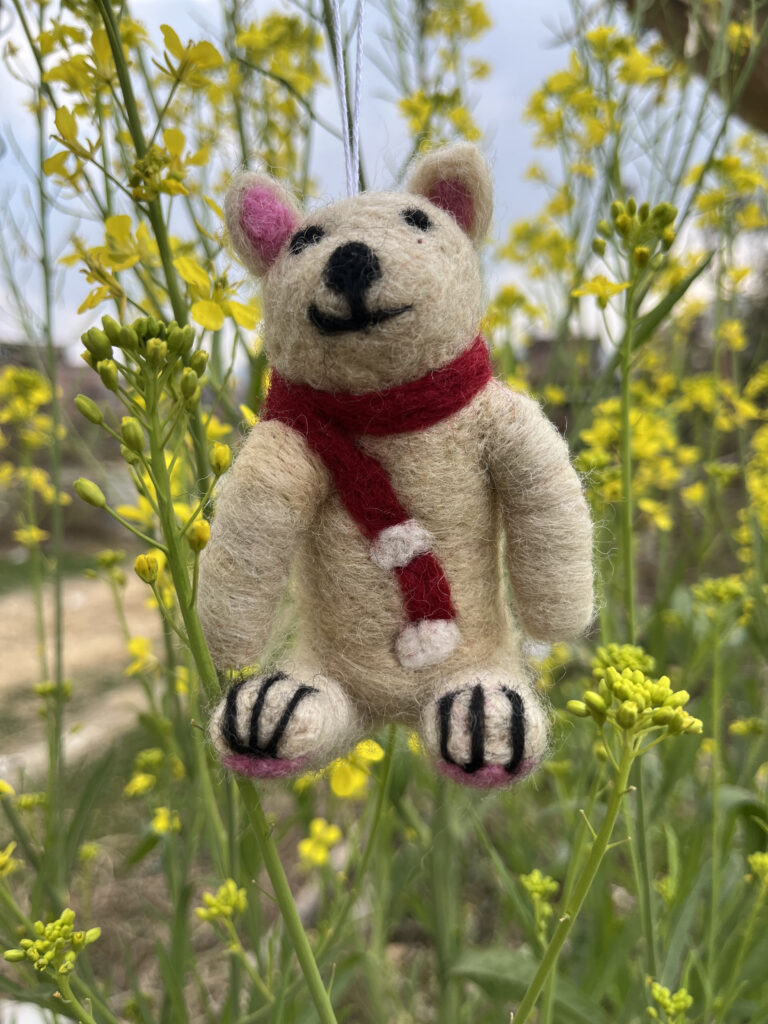
Trim stray threads, shape the toy by gently manipulating the stuffing, and add any final embroidery or accessories (tiny scarf, felt flower).
-


0 Comments
This is exactly what i was looking for, thank you so much for these tutorials
It would be great to try this theme for my businesses
What a nice article. It keeps me reading more and more!